Table of Contents
- Let’s uncover the secrets of JB Weld!
- Step 1: Get Your Tools Together
- Step 2: Prepare for Battle
- Step 3: Mix Like a DJ at a Metal Concert
- Step 4: Apply with Swagger
- Step 5: Play the Waiting Game
- FAQs about How to use jb weld for metal
- Can I use JB Weld on any type of metal?
- Can JB Weld handle really hot or cold temperatures?
- Can I sand and paint JB Weld after it dries?
- What if I mix JB Weld in the wrong proportions?
Got a metal problem, like a broken piece of your favorite old lamp or a crack in your motorcycle exhaust? No worries! Meet JB Weld, the superhero for fixing metal. In this comprehensive guide on How to use JB Weld for metal, we will walk you through using JB Weld to repair metal, from getting ready to letting it cure. We’ve got all the info you need!
Let’s uncover the secrets of JB Weld!
Let’s chat about the cool science of JB Weld before we dive into fixing our metal stuff. This isn’t your regular glue—it’s a special two-part epoxy. When you mix it, it turns into a super-strong bond, like metal parts becoming best buddies again. Ready to get started!
Step 1: Get Your Tools Together
The first rule of JB Weld Club? Gather your tools! Here’s what you need to assemble for this metal-welding mission:
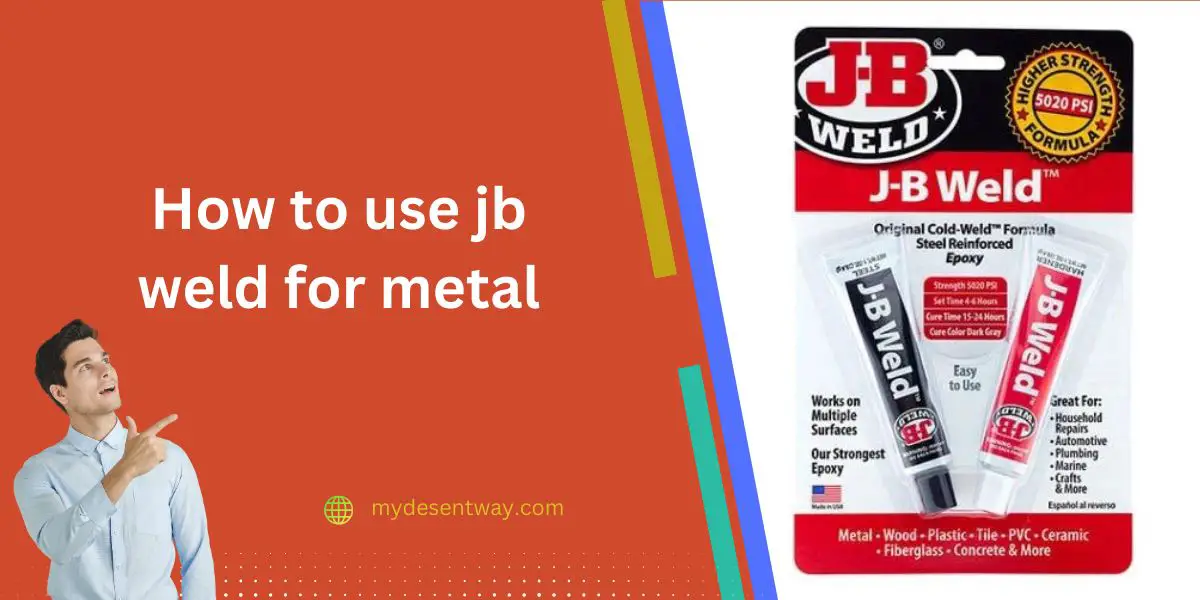
- JB Weld Original or JB Weld SteelStik (depending on your metal type)
- Sandpaper (60-80 grit for roughing up the metal)
- Acetone or rubbing alcohol
- Clean cloth or paper towels
- Disposable gloves (because, let’s face it, epoxy on your hands is not a fashion statement)
- Stirring stick or an old popsicle stick (for mixing the epoxy)
- Masking tape or clamps (to hold the pieces in place during curing)
- Patience (optional, but highly recommended)
Step 2: Prepare for Battle
Now that you’ve gathered your weaponry, it’s time to prep your metal for the ultimate bond. Follow these steps:
- Cleanliness is Next to Bondliness:
- Wipe down the metal surfaces with acetone or rubbing alcohol. You want a pristine canvas for the JB Weld masterpiece.
- Pro tip: If you’re dealing with oily or greasy surfaces, use a degreaser before the acetone dance.
- Abracadabra, Sanding Style:
- Grab that sandpaper and give the metal a good sanding. This isn’t a spa day; you want to create a rough surface for JB Weld to grip onto.
- Remember, the key is to make those metal surfaces feel a little insecure, so the epoxy can swoop in as the confident mediator.
Step 3: Mix Like a DJ at a Metal Concert
It’s showtime! Time to mix that JB Weld epoxy like a DJ creating beats at a metal concert. Follow these steps:
- Equal Portions, Perfect Team:
- Squeeze out equal parts of the JB Weld epoxy onto a clean surface. It’s like introducing Batman and Robin to the crime-fighting scene.
- Be careful and measure accurately; guessing might make the mix uneven, and we don’t want a wobbly bond..
2. Mix It Up:
- Take your stirring stick and blend the two parts together. Think of it as making the perfect cocktail, but instead of ice and a twist of lemon, you’re mixing resin and hardener.
3. The Color of Unity:
- Keep stirring until you achieve a uniform color. Once it’s a single, harmonious shade, you’re ready to roll. The epoxy is now a united force, ready to tackle your metal repair mission.
Step 4: Apply with Swagger
Now that your JB Weld concoction is ready, it’s time to apply it with the confidence of a catwalk model strutting down the runway. Here’s how:
- Get Handsy:
- Put on those disposable gloves. This is your time to shine.
- Scoop up the mixed epoxy and apply it to the prepared metal surfaces. Be generous, but not excessive – you’re not frosting a cake.
- Smoothing it Out:
- Use your stirring stick or a similar tool to smooth out the epoxy. Picture yourself as an artist creating a masterpiece – even strokes, even coverage.
- Seal the Deal:
- If you’re mending two metal pieces, carefully press them together. It’s like bringing together the missing pieces of a puzzle. Magic in the making!
Step 5: Play the Waiting Game
Now comes the hard part – the waiting game. But hey, good things come to those who wait, right? Here’s what you need to do:
- Tape it or Clamp it:
- Secure the bonded pieces using masking tape or clamps. You want them to stay put while the JB Weld works its magic.
- Pro tip: Check the curing time on the JB Weld packaging. Different products have different timelines, and you don’t want to rush the process.
- Hands Off!
- Resist the urge to check on your masterpiece every five minutes. Give it the space it needs to cure properly.
- It’s like waiting for the pizza delivery – patience is a virtue, my friend.
Conclusion:
And there you have it, the ultimate guide on how to use JB Weld for metal repairs. From prep to cure, we’ve navigated the twists and turns of the metal-bonding journey. So, the next time you face a broken bracket, a cracked manifold, or a split pipe, don your DIY cape, grab that JB Weld, and unleash the metal-bonding sorcery!
Remember, with JB Weld in your toolbox, you’re not just fixing metal – you’re conducting a symphony of repair, transforming broken pieces into harmonious wholes. So go ahead, embrace the magic, and let your metal marvels shine once more! How to use JB Weld for metal? It’s not just a question; it’s an invitation to become the maestro of metal mending!
FAQs about How to use jb weld for metal
Can I use JB Weld on any type of metal?
Yes, JB Weld works on many metals like steel, aluminum, and copper. It’s a reliable choice for bonding different types of metal.
Can JB Weld handle really hot or cold temperatures?
Absolutely! JB Weld can handle temperatures from -67°F to 500°F (-55°C to 260°C), making it suitable for use in various environments.
Can I sand and paint JB Weld after it dries?
Yes, once JB Weld is dry, you can sand it to make it smooth. It’s also paintable, allowing you to match the repaired surface with its surroundings.
What if I mix JB Weld in the wrong proportions?
Accurate mixing is crucial. If you mix JB Weld in the wrong proportions, it’s best to start over. Using improperly mixed JB Weld might not give you the strong bond you need.